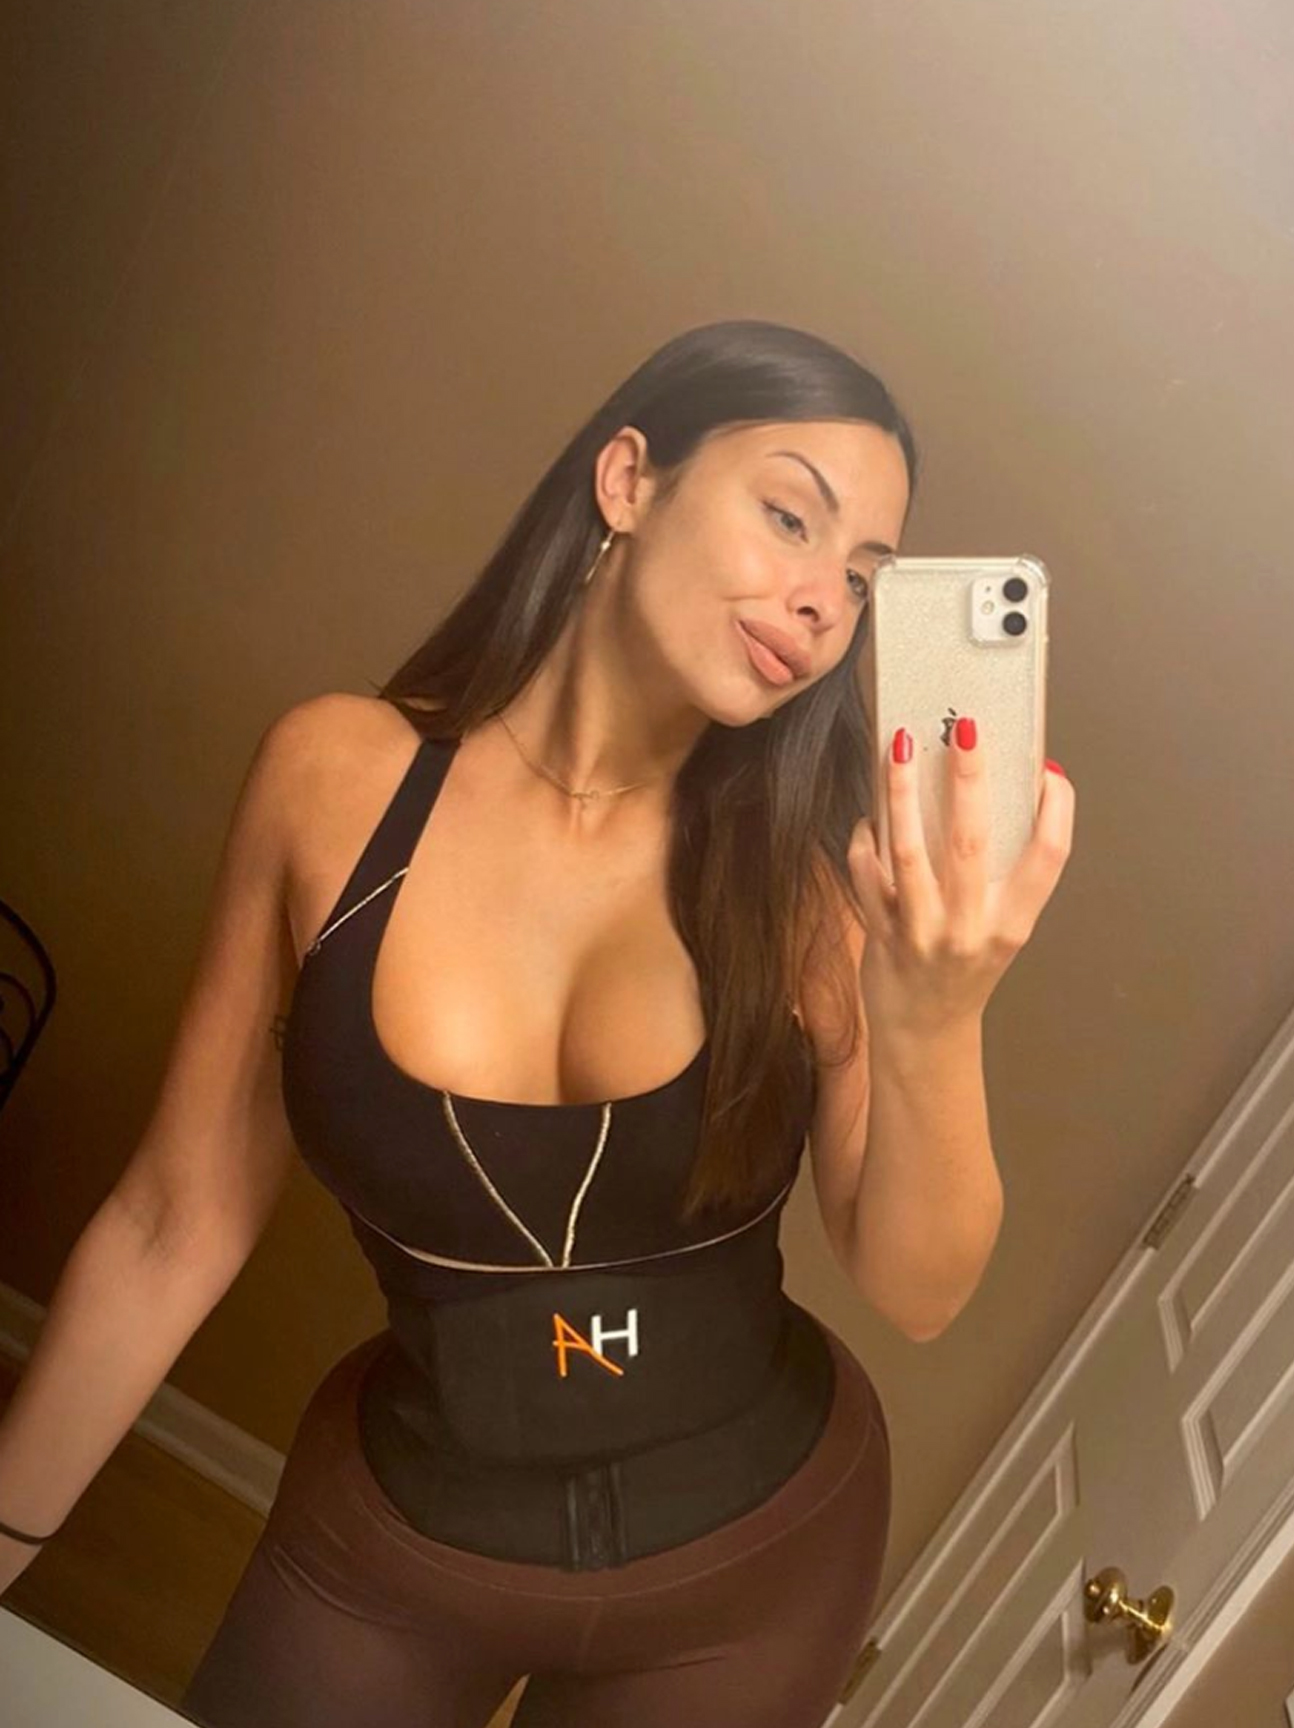
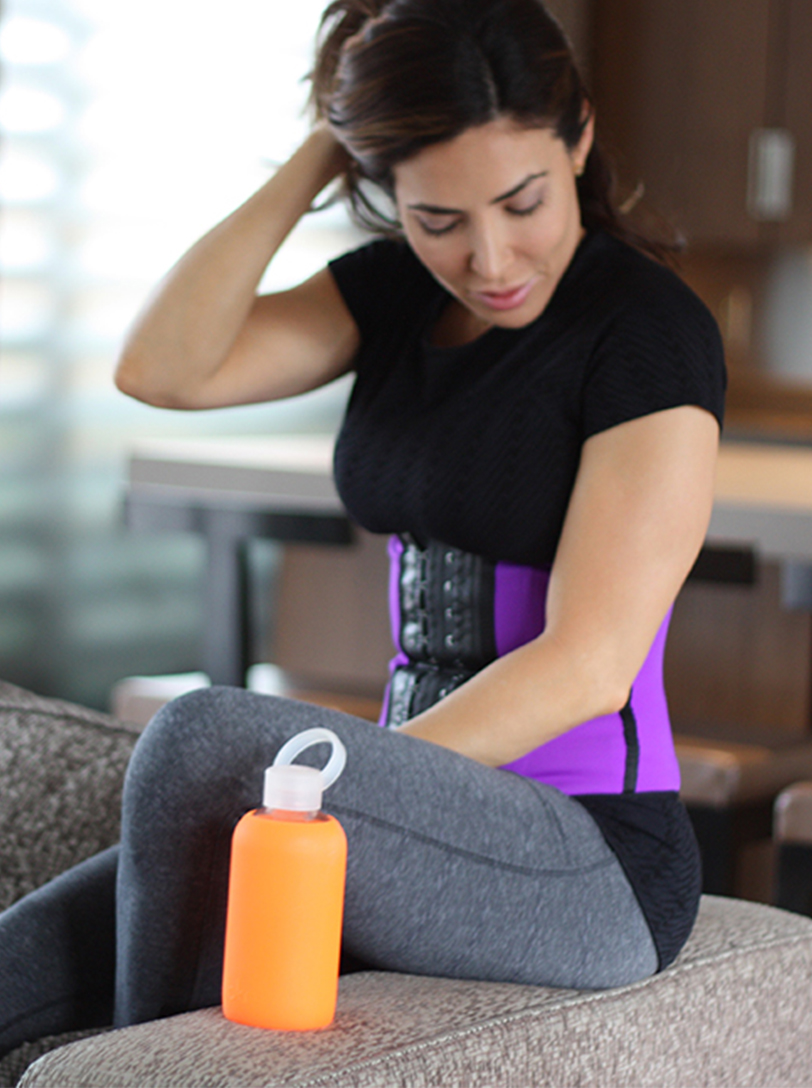
THE EASIEST WAY TO TRY ON A WAIST TRAINER
PUTTING ON A WAIST TRAINER
Getting a new waist trainer can be a bit confusing, especially if you haven't worn one before, but these simple tips make it much easier. Learn how you can embrace your new waist shaper from the first time you wear it to when you're ready to size down.
- Before putting on the waist trainer, make sure you have the right side up. The tag is typically positioned at the top of the waist trainer. If for any reason the tag isn't at the top of the waist trainer, you can lay the waist trainer flat, the widest part of the waist trainer will be the bottom side.
- To help putting the waist trainer on, start with the bottom hook-and-eye closures at the narrowest part of your waist. Continue hooking the closures and gradually bring the waist trainer down into position.
PUTTING ON A FITBAND
A fitband is a great complementary garment for an active lifestyle. Fitbands are designed to be flexible and resistant, so they hold up through your exercise regimen.
- To put on a fitband, bring the inner bands together.
- Once the inner bands feel comfortable, bring the outer bands together.
- Adjust for a comfortable fit.
WHAT TO EXPECT
Waist trainers are by far our most popular sellers here at Hourglass Angel—and of course, what’s not to love? Virtually any body shape and size can benefit from slimming the waistline and creating hourglass curves. If this is your first time waist training, the most surprising thing you may encounter is how tight a waist trainer feels the first time you put it on. But before you give up and decide to order a larger size, consider these factors:
- Did you take accurate measurements? The most important measurement for a waist trainer is your waist size. You should measure the narrowest part of your waist, about two inches above your belly button, using a vinyl or fabric tape measure. Make sure that the tape is level with the ground and that you do not pull it too tight. You should be able to slip a finger underneath without difficulty.
- Did you read the size chart correctly? It can be a little confusing at first glance. Be sure you order the size that corresponds with your waist measurement, which isn’t necessarily the same number. For example, on the Clasica Latex Waist Cincher by Ann Chery, a size 30 is made for a 23–24.5-inch waist (not a 30-inch waist!). Our size charts have been thoroughly tested and they reflect the most accurate size. So be sure to stick to the guidelines. When in between sizes, pick the larger one. Remember that waist trainers are adjustable, so you can put a larger one on a tighter setting for the best fit.
- Did you put it on correctly? Waist trainers are a bit tricky if you’re not used to putting them on. We recommend starting with the bottom hook-and-eye closure on the garment, clasping them across the narrowest part of your waist. Gently work your way up the row of hooks, and finally pull the garment down over your lower abdomen once it’s completely fastened.
- Did you choose the right garment for your body type? In some cases you might technically have the right size, but it just isn’t the ideal piece for your body type. This is especially common in women who are petite, tall or curvy. For petite women we recommend a regular everyday cincher with only two rows of hook-and-eye closures, or even one of our workout bands, which are typically not as long as other options. For women with long torsos we recommend waist trainers designed with more coverage. And for curvier women we recommend the Squeem brand as well as vest-style trainers with adjustable straps for maximum bust support.
With all of those factors considered, here’s what to expect the first time you wear your waist trainer.
NORMAL
- It should feel very tight. You probably will not be able to bend very much at the waist.
- You will sweat more around your core (this is one the reason that waist training is effective). If this makes you uncomfortable, you might want to try a cotton blend or latex-free waist trainer.
NOT NORMAL
- While it should be snug, the waist trainer should not pinch or restrict your breathing. Take it off immediately if this is the case.
- While it can be tricky to put a waist trainer on for the first time, you shouldn’t have to tug or stretch to fasten it. Don’t ever force it, or you risk damaging it, which will render it not returnable.
- With a properly fitted waist trainer, you should see obvious hourglass curves immediately. If it’s too loose and there’s not a noticeable difference in your waistline, you either need a smaller size or a different style. You should not be able to move it around at all once it’s fastened and in place!
Final word: How do you know when to order a new waist trainer? After several months of regular use, waist trainers can lose some of their elasticity—not to mention, your waist might be quite a bit slimmer than it used to be. You know that you’re due for a new one when it just doesn’t feel as snug as it used to, even when on the tightest setting. For most women, this is cause to celebrate! Be sure to take new waist measurements before ordering your next waist trainer.
CONTINUE OUR ULTIMATE WAIST TRAINING GUIDE...
Continue our ultimate waist training guide below to learn more about different styles and how to properly size, how to use your waist trainer for the best overall results and learn about daily waist training exercise and what you can do at home.

YOUR GUIDE TO CORSETING GUIDE
How to start corseting with a premium Hourglass Angel steel-boned corset.


